Pages

Wednesday, June 4, 2014

Painting Cabinets = Worth It!

It has been a while since my last post but now you'll understand why...

In our latest attempt to sell one of the houses from our bachelor/bachelorette days, we did a major kitchen overhaul on Ryan's old house.  Although some might find these orange oak cabinets and blue countertops to be beautiful, we thought some might like a more neutral take on a kitchen.
Step 1: Remove all cabinet doors and place hardware inside of each cabinet.
Step 2: (No picture but highly recommended) Use painters tape to number cabinets from left to right. You can move it around on the door or drawer as you're painting.
Step 3: CLEAN areas to be painted including cabinet fronts, drawer fronts and doors. I have seen fancy cleaners advertised for this but we just 409'd the grime off of everything. Areas around the stove needed several wipe downs.
Step 4: Liquid sander on all areas to be painted to get rid of the shine and any left over grime. This stuff is easy to wipe on and then you get to walk away! Once it is dry you are set to start painting. No need to wipe everything down again.


Step 5: Prime everything with a white latex primer and dry
Step 6: Repeat step 5 :)

*Door recommendation: Paint on top of a piece of plywood. I tried the nail set up on top of the plywood but didn't find it to be worth that extra step. If I ever do this again, I will just lay it right on the plywood.
We took the doors to our house so we could put the multiple coats of primer and paint on them without going over to the bachelor house.


After one coat of primer


* A foam brush and foam roller were the best tools for this job. I recommend painting the crevices first with the foam brush then...


Paint the flat surfaces with the little foam roller and make sure everything is smooth.

Any flaws can be gently sanded down and touched up with paint later if needed.

Steps 7 & 8: Semi gloss paint coats

Steps 9-12: Flip doors and paint other side. Easy but time consuming and monotonous!
TOTAL COATS:
2 coats latex primer
2 coats latex semi gloss paint in color of your choice + touch up coat where necessary


BIG ADVICE: DO NOT STACK PAINTED DOORS ON TOP OF ONE ANOTHER FOR TRANSPORT. They like each other too much and will end up taking paint off one another.

Although I don't want to look at white paint for a long time, these shots make it well worth the time!

 
New granite counters, sink and faucet!


+ a cute rug from TJMaxx, candle and soap dispenser which my husband rolled his eyes at but clearly make the kitchen.


Saturday, March 8, 2014

Chalk Painted Furniture

When I first started revamping rough pieces of furniture, I was moving into a huge house in Clifton for my junior year of college. We had no furniture other than our beds that had been sitting at our parents' houses during our first two years of college.

I had pieces donated to me from neighbors and raided thrift stores across Cincinnati to furnish it. The summer before we moved in, my parents let me fill up our garage with that furniture and paint away.

The obsession resurfaced last year and although I don't have many before pictures, here are some pieces that I completed using the chalk paint recipe.


 Repainted my nightstand from college and tossed on some new knobs from Hobby Lobby.

Formerly a green and brown entertainment center purchased at ebth.com, this piece is now sitting in our future nursery as a changing table. Knobs from Anthropologie.

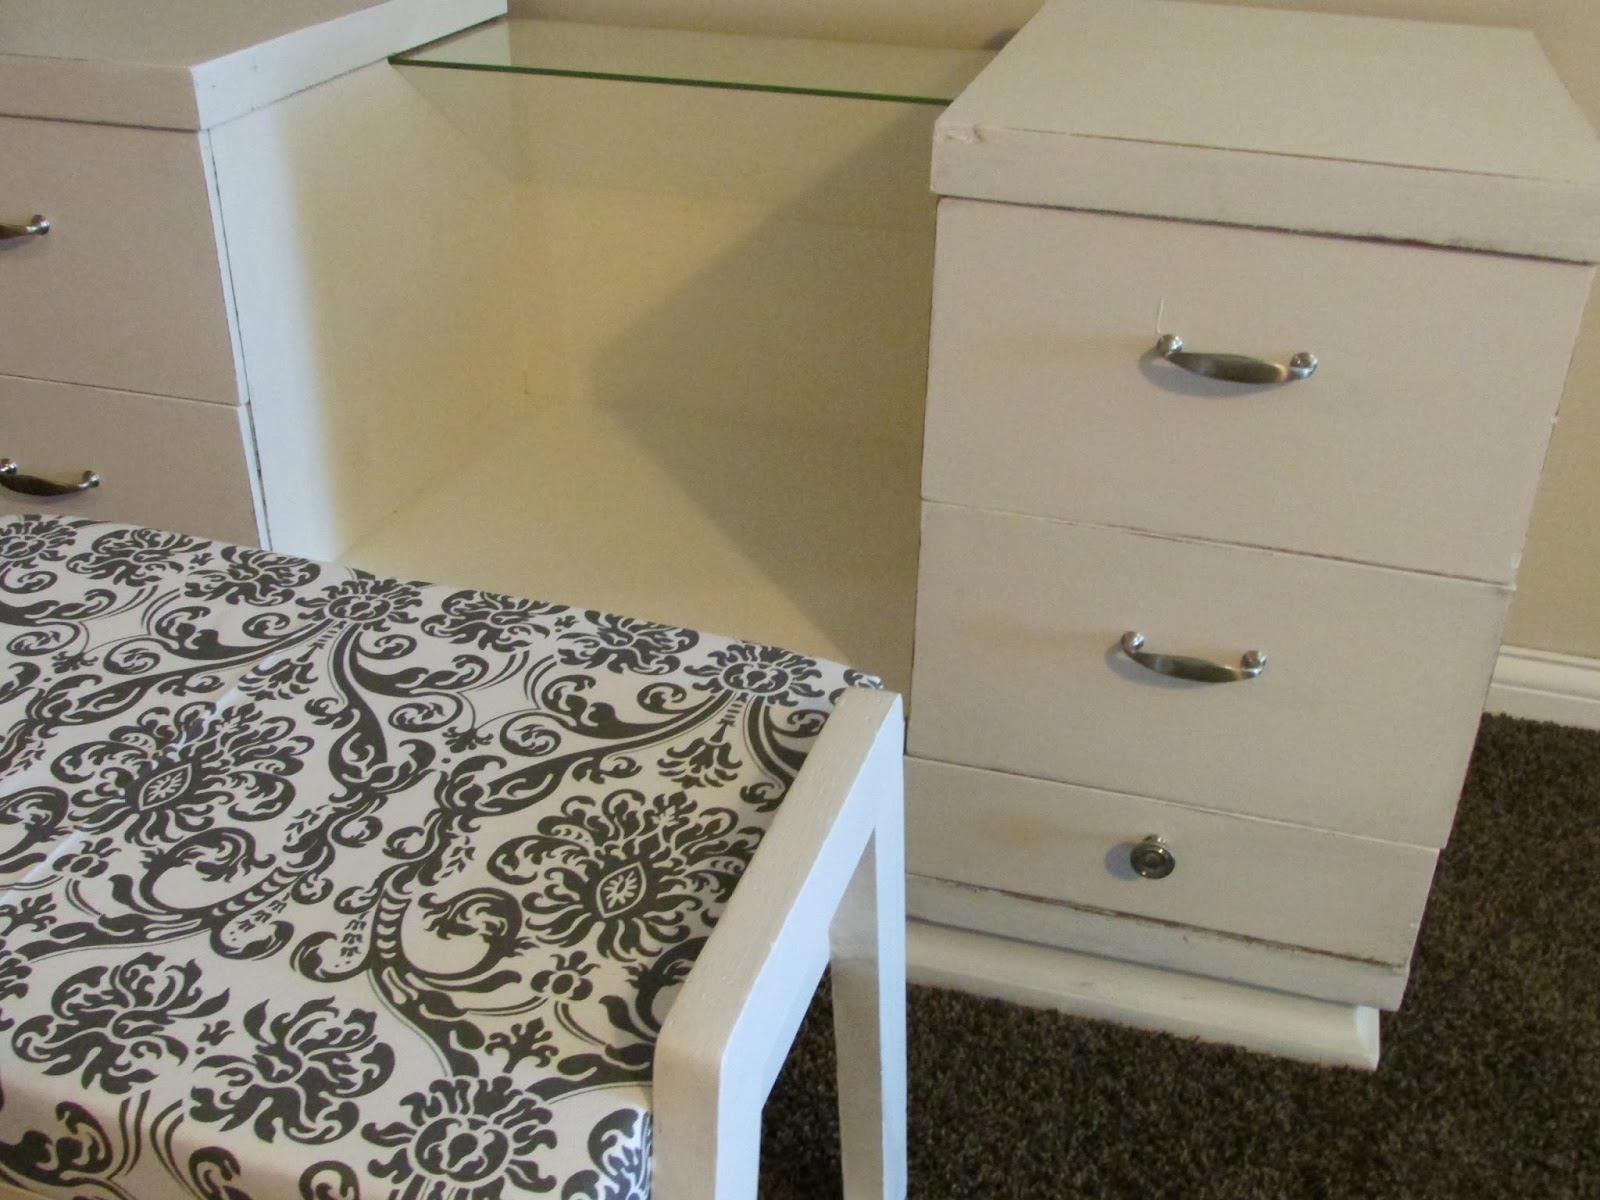
My amazing husband spotted this vanity in the Free Craigslist section and somehow loaded it into his car by himself to surprise me. It will be the new vanity in his parent's basement bathroom.

One of my favorite rehabs which is now in my sister and brother-in-law's living room as their entertainment center.

In progress: Future nursery dresser coming soon. Painted but waiting to find some knobs- big decisions!

Monday, March 3, 2014

Dining Room Hutch

We had been looking for a hutch to store all of our wedding dishes in for a few months. When my husband found this one on Craigslist for $100, we jumped on it. I knocked this thing out in a day (which is not normal) because I was on a roll.

Supplies: Wood filler, sander, latex paint, unsanded grout, foam roller, paint brush, furniture paste and an old t-shirt or cloth.

I removed all of the old hardware and filled in a couple of the holes with wood filler because the new hardware was a different size. As the wood filler was drying, I began painting other areas. The paint recipe I use is great because it requires NO sanding or priming before you start. All you need to do is wipe the piece of furniture down to make sure it is clean of dirt and dust.

Paint recipe:

1 cup latex paint (I used Valspar Semigloss in Mystique here)

2 tablespoons unsanded grout

Mix well to get rid of any powder chunks and paint away!

I completed 3 coats on the entire piece and let it dry completely. To seal and protect the paint, I generously applied Paste Finishing wax with an old t-shirt. Just make sure whatever you use is lint free. I went back with a clean piece of the t-shirt and wiped it down. You only want to wait about 10 minutes in between applying the paste and wiping it off.

I drilled new holes for the new hardware and put the new knobs and pulls on. We chose to take the grid out of the window and just keep the glass pane in the doors. As an added touch, I popped off the back of the hutch and applied some left over wallpaper from our dining room to it. We stapled the wallpapered panel back on and voila!
Picture
 
DESIGN BY THE BLOG DECORATOR