Pages

Monday, April 7, 2014

SAAP Fosters

When Good Buddies dissolved last year, the volunteers from that group were on a hunt to find a group to donate our remaining funds and have as a back up for any returned dogs. They found the Stray Animal Adoption Program (SAAP)! When we were ready to foster again, we filled out our foster application with them and had our first guy, Balto, within a week.

I have been absolutely amazed by the number of people involved in this organization across the Greater Cincinnati area. The Facebook group for SAAP constantly has people posting about animals in need and more importantly, people swinging into action to help those animals. We are able to take a foster on whenever works for us. Here are our SAAP guys and girls so far:

Balto- This big sweetheart was returned to SAAP because his owner fell ill. He was adopted to his new forever home after being with us for almost two months. He lives in our area so I am always on the lookout for him on walks!
Woody- This gorgeous guy was with Owen County Friends of Animals for months. One of my sister's friends fostered him for the shelter during Christmas time. When we told SAAP we were ready for another foster, they brought Woody into the organization and we fostered him. My co-worker and her family had lost their beloved dog a few months before this and I overheard her talking about getting a new dog. I immediately took out my phone to show her pictures and videos of Woody and she was in love! We had Woody for 3 DAYS before he was adopted to his amazing new family.
(Naughty) Nadia- Our first female foster made her mark the first day! She was the sweetest thing with us but not at all interested in having our dogs around. The great thing about SAAP is their size, so when I knew Nadia wasn't a good fit for our pack, they found her a new foster. She was adopted out to her new foster's coworker within the same week!


Brutus- Oh Brutus! The final adoption event I took Brutus to began with me telling them, "He has to get adopted today!" I was absolutely in love with this big guy. After our experience with Nadia, I asked SAAP for a younger dog. Brutus was 4 months old and perfect for our pack! He was completely submissive to Sam, but would play really well with Coffee. He had to wear the "cone of shame" for the first few days because he wouldn't leave his neuter stitches alone. He was not a cone fan! He was adopted after a couple of weeks to a great couple with three other SAAP dogs and can be blamed for my new found interest in this age!
Bella Bee- She was a skinny mini when she came to us. She was absolutely terrified when I picked her up from the vet. We fattened her up and loved on her as much as we could before she was adopted at her very first adoption event! She was adopted out to a family who also adopted a slightly younger SAAP puppy at the same event.

Rocky- Our latest foster was a total puppy. I felt like a new mom with this guy, getting up every night between 2-3 AM for a potty break! He was also very submissive and believed he was a lap dog :) He was adopted out to a cute couple with 100 acres and a pond on their property. He will have the life!


Milo- We thought we'd foster for a few more months before Mason was born so we agreed to foster again in the fall of 2014. Little did we know, Milo would be with us for three months :) Milo was a good looking pup but his nickname was "Pee Pee McGee" because he would pee a little bit every time we got him out or pet him. Ryan loved that about him :) I felt like he was preparing me to clean up after someone else all the time aka Mason! Milo was adopted in December to a sweet couple who looked passed his puppy trait.

Saturday, March 22, 2014

Dining Room

AFTER

BEFORE

Our dining room was one of the first rooms to be completed. Someday I want a full length regular height table but this one works for now. (Just waiting for him to go out of town. He said he thinks I can't build one. Challenge accepted!) We picked out the wallpaper from Lowes first then had it colored matched to paint the rest of the room.

 Buffet: Value City Furniture (Clearance of course!)
Mirror: Garden Ridge


The window area was Pinterest inspired. I want to do some type of wording over top that window someday soon.

BEFORE


Table: Craigslist $200 (was in immaculate condition- originally from Sam's Club believe it or not)
Light: Lowe's


Our Living Room

AFTER

BEFORE- YIKES!

When we purchased our house, the carpet was in rough shape and all of the ceiling fans had been taken out. We worked with a great guy in Bellevue to replace all of the carpet in the house after we finished repainting. My handy husband installed all of the ceiling fans. They are remote controlled allowing for extra laziness!


 One of the biggest investments we made when we moved in was this couch from Value City. We absolutely love it! It took me a little while to come around to the idea of a big brown leather couch but we both fell for this one right away. 

Ryan put these shelves together after we shopped around and realized how much plain black shelves were to buy. We bought one 2 by 2 and a piece of molding we both agreed on. He cut them to the sizes we wanted and painted them black. He attached the 2 by 2s to the wall first then used nail glue to attach the molding. We may need some more of these down the road to include all of our nieces and nephews!


We went with a basic Ikea TV stand and it has held up really well.


And of course, we have a dog zone! I purchased the blue rugs at Target last summer to place under their crates. That makes for an easy replacement if somebody has an accident.


Chairs: Target
Clock: Garden Ridge
Electric Fireplace: Craigslist :)


Currently featuring: the spring mantle!

AFTER
BEFORE


Saturday, March 8, 2014

Chalk Painted Furniture

When I first started revamping rough pieces of furniture, I was moving into a huge house in Clifton for my junior year of college. We had no furniture other than our beds that had been sitting at our parents' houses during our first two years of college.

I had pieces donated to me from neighbors and raided thrift stores across Cincinnati to furnish it. The summer before we moved in, my parents let me fill up our garage with that furniture and paint away.

The obsession resurfaced last year and although I don't have many before pictures, here are some pieces that I completed using the chalk paint recipe.


 Repainted my nightstand from college and tossed on some new knobs from Hobby Lobby.

Formerly a green and brown entertainment center purchased at ebth.com, this piece is now sitting in our future nursery as a changing table. Knobs from Anthropologie.

My amazing husband spotted this vanity in the Free Craigslist section and somehow loaded it into his car by himself to surprise me. It will be the new vanity in his parent's basement bathroom.

One of my favorite rehabs which is now in my sister and brother-in-law's living room as their entertainment center.

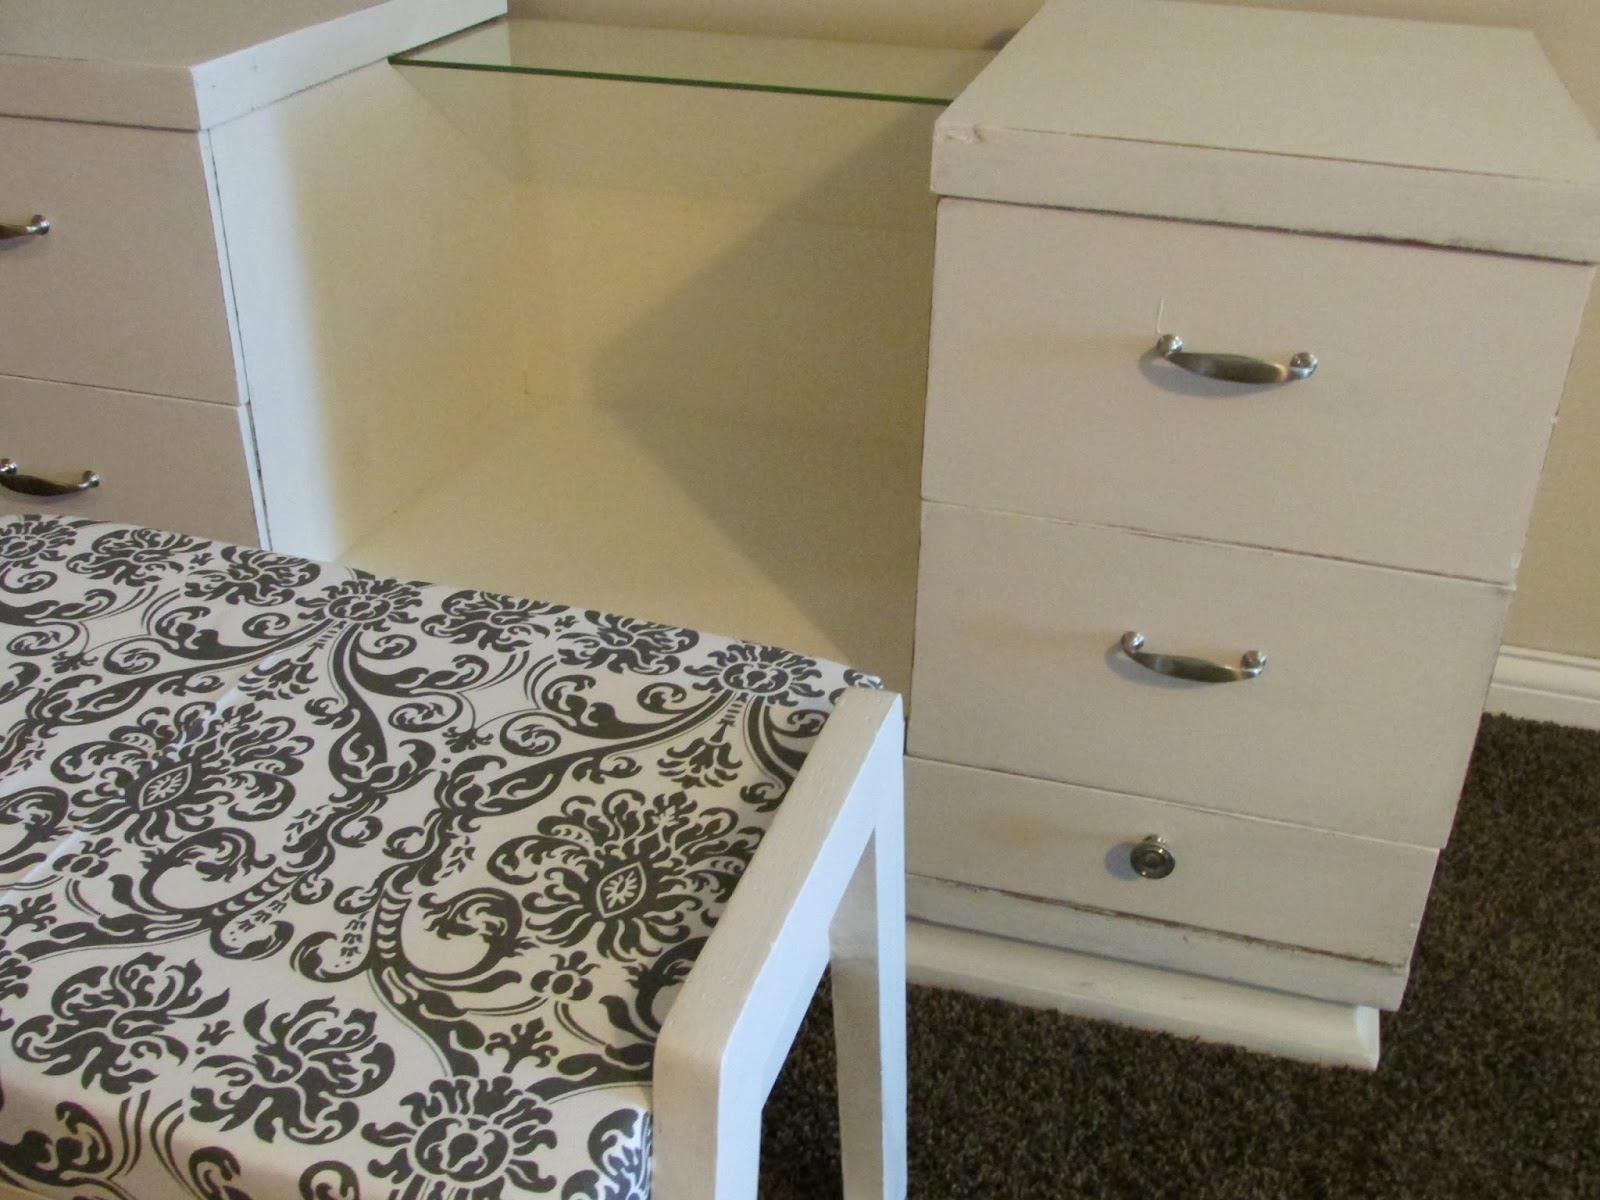
In progress: Future nursery dresser coming soon. Painted but waiting to find some knobs- big decisions!

Monday, March 3, 2014

Kitchen Overhaul

I am starting with the biggest project in our house thus far. When we bought our house, the appliances, light fixtures and faucets were gone. It was also a beautiful mustard yellow color.
Within the first month, we filled all of those holes with many visits to Lowe's. Our first step was painting which only took a couple of days. The Valspar color is called "Relaxing Green" and even looks a little bit blue at night. My husband also changed out all of the cream colored plugs and plates to white which made a huge difference.
We had a 36" opening for an oven but because of price, we went with a 6" filler cabinet and a standard 30" oven. My handy husband found the range on eBay and installed it himself.
We also had a gaping hole which we assumed was used for a double oven at some point. Since we had no use for a double oven, we purchased double doors from Lowe's and attached them with standard hinges.
The counter tops were an interesting pink color that we lived with for about a year and a half. This fall, we shopped around at three different places until we found a slab of granite and price we liked. My husband built a peninsula off of a wall in the kitchen by constructing a half wall and attaching more cabinets from Lowe's.
The final step in completing our kitchen was my husband's custom built wine rack above the refrigerator. He painted it black and attached it to the cabinetry above.
In between the kitchen and living room, we have a small breakfast nook area. It did look straight out of McDonald's when we bought the house but we quickly fixed that. We found the bench and table set at a second hand store and stained it to match the rest of the wood work.

Dining Room Hutch

We had been looking for a hutch to store all of our wedding dishes in for a few months. When my husband found this one on Craigslist for $100, we jumped on it. I knocked this thing out in a day (which is not normal) because I was on a roll.

Supplies: Wood filler, sander, latex paint, unsanded grout, foam roller, paint brush, furniture paste and an old t-shirt or cloth.

I removed all of the old hardware and filled in a couple of the holes with wood filler because the new hardware was a different size. As the wood filler was drying, I began painting other areas. The paint recipe I use is great because it requires NO sanding or priming before you start. All you need to do is wipe the piece of furniture down to make sure it is clean of dirt and dust.

Paint recipe:

1 cup latex paint (I used Valspar Semigloss in Mystique here)

2 tablespoons unsanded grout

Mix well to get rid of any powder chunks and paint away!

I completed 3 coats on the entire piece and let it dry completely. To seal and protect the paint, I generously applied Paste Finishing wax with an old t-shirt. Just make sure whatever you use is lint free. I went back with a clean piece of the t-shirt and wiped it down. You only want to wait about 10 minutes in between applying the paste and wiping it off.

I drilled new holes for the new hardware and put the new knobs and pulls on. We chose to take the grid out of the window and just keep the glass pane in the doors. As an added touch, I popped off the back of the hutch and applied some left over wallpaper from our dining room to it. We stapled the wallpapered panel back on and voila!
Picture
 
DESIGN BY THE BLOG DECORATOR